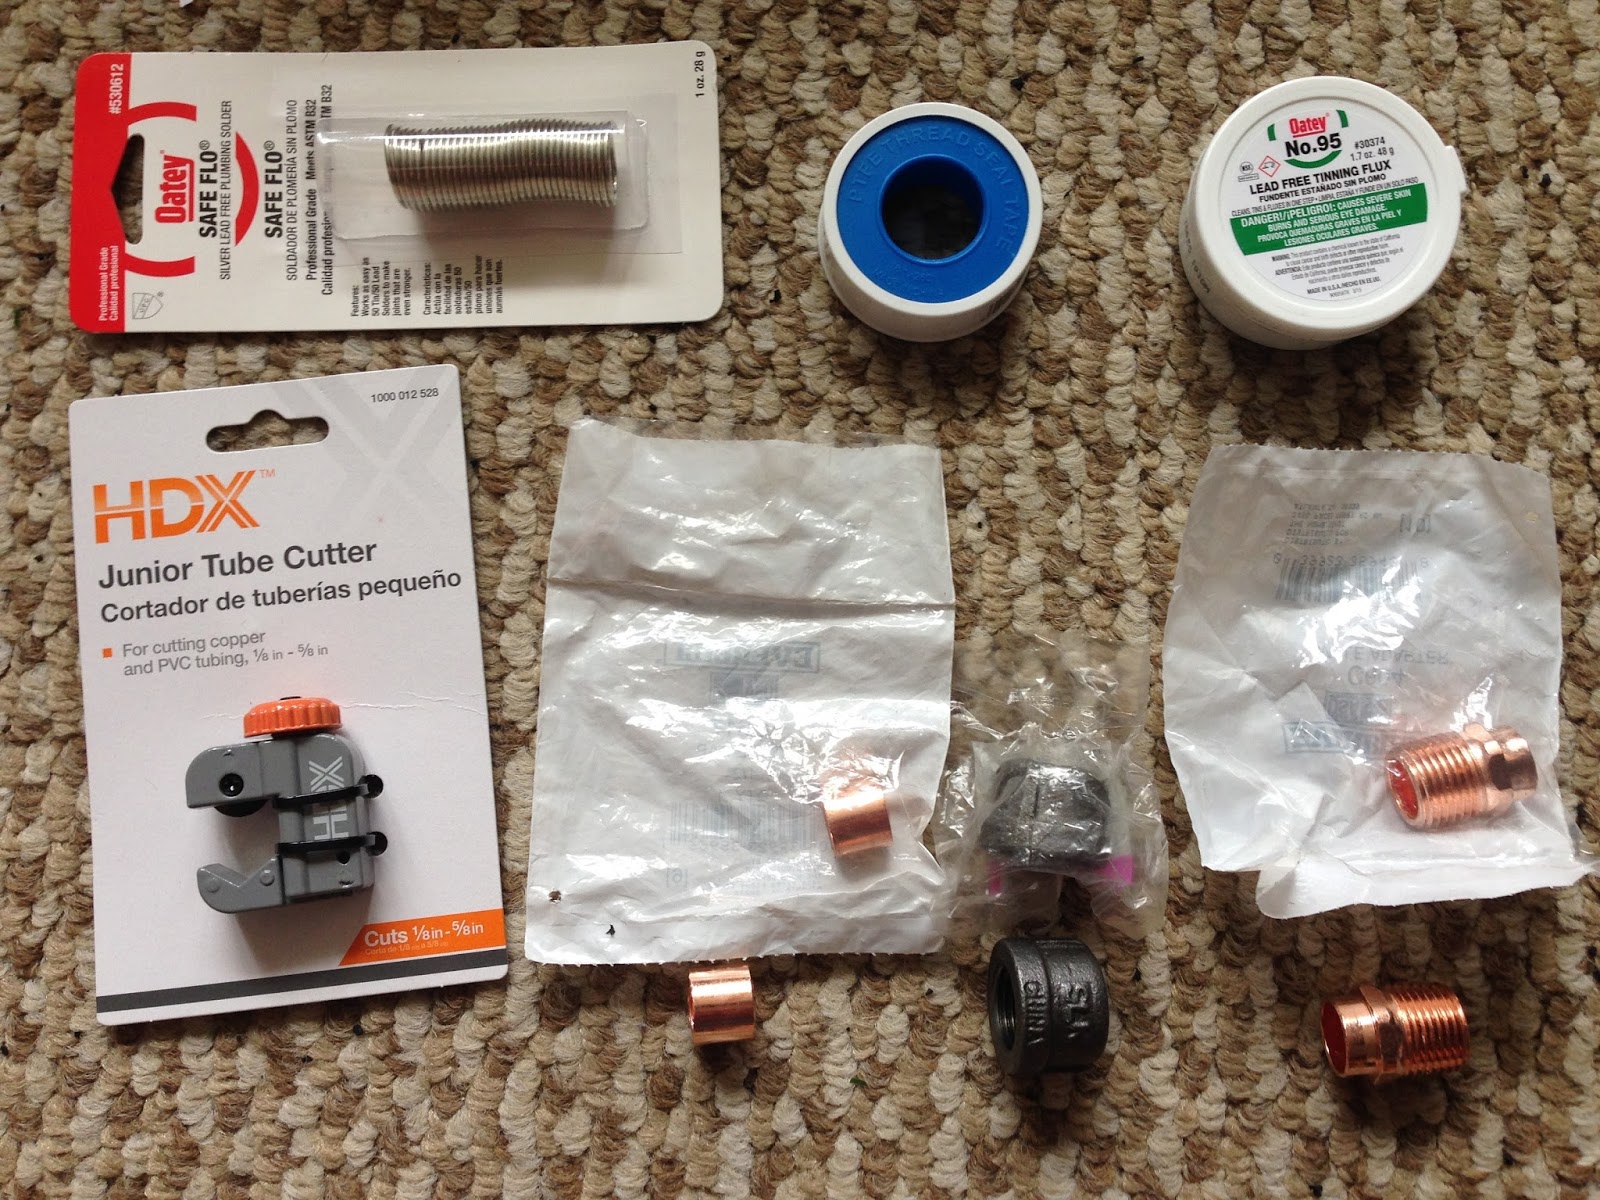
Now that we had determined the roadmap ahead for our project, week 3 was the time to set everything up so that work could begin. To do that we needed to compile a comprehensive list of materials that would be needed in every aspect of the project. This included not only the pipe and wicks themselves but components such as tinning flux and solder that would be necessary to secure the components.
Projected Budget
Category
|
Projected Cost
|
Manufacturer
|
Location
|
0.5 in x 5 ft Copper Type M Pipe
|
$6.76
|
Mueller
|
Home Depot
|
Compression pipe cap (2)
|
$13.84
|
SharkBite
|
Home Depot
|
Metal Pipe Cutting Tool
|
$9.97
|
SharkBite
|
Home Depot
|
Heat Insulation Tape
|
$7.28
|
Nashua
|
Home Depot
|
Dual Temperature Heat Gun
|
$21.70
|
Genesis
|
Home Depot
|
Temperature Sensor
|
$26.99
|
Nicety
|
Amazon
|
Aluminum Screen (3)
|
$33.00
|
Saint-Gobain
|
Home Depot
|
Estimated Shipping
|
$0.00
| ||
TOTAL
|
$119.54
|
We also had to begin to consider what materials could be borrowed or rented to try and minimize costs. After talking to the faculty at the Drexel machine shop, we learned that we had access to a wide range of tools and machines, the most important of which being a soldering iron.
We also learned that we could test the heat pipe in lab a few weeks before the end of the term, which will provide time necessary to compile the analysis in addition to the final report. When we test the heat pipe using the test rig, a temperature sensor and insulating tape will be provided by the class advisor, allowing us to collect data without having to purchase those materials.
Through this we were able to eliminate the need to purchase the heat gun and temperature sensor. After purchasing all materials, we also realized we could borrow a pipe cutting tool, so this price will be subtracted from the total cost of materials when it is returned. We decided to make a small design change to the heat pipe, opting to use threaded adapters and caps instead of SharkBite compression caps. Soldering on a threaded adapter will be more secure and reliable over multiple tests.
Another key component to minimization of cost was analyzing shipping rates. After looking at quite a few sites, the shipping rate would only fall to a reasonable price if a) we were ordering hundreds of dollars worth of material or b) we were willing to wait three weeks for shipping. Both of those options were unreasonable, so we decided on paying a bit extra for some materials but eliminating shipping costs by picking up all of the materials from a local hardware retailer.
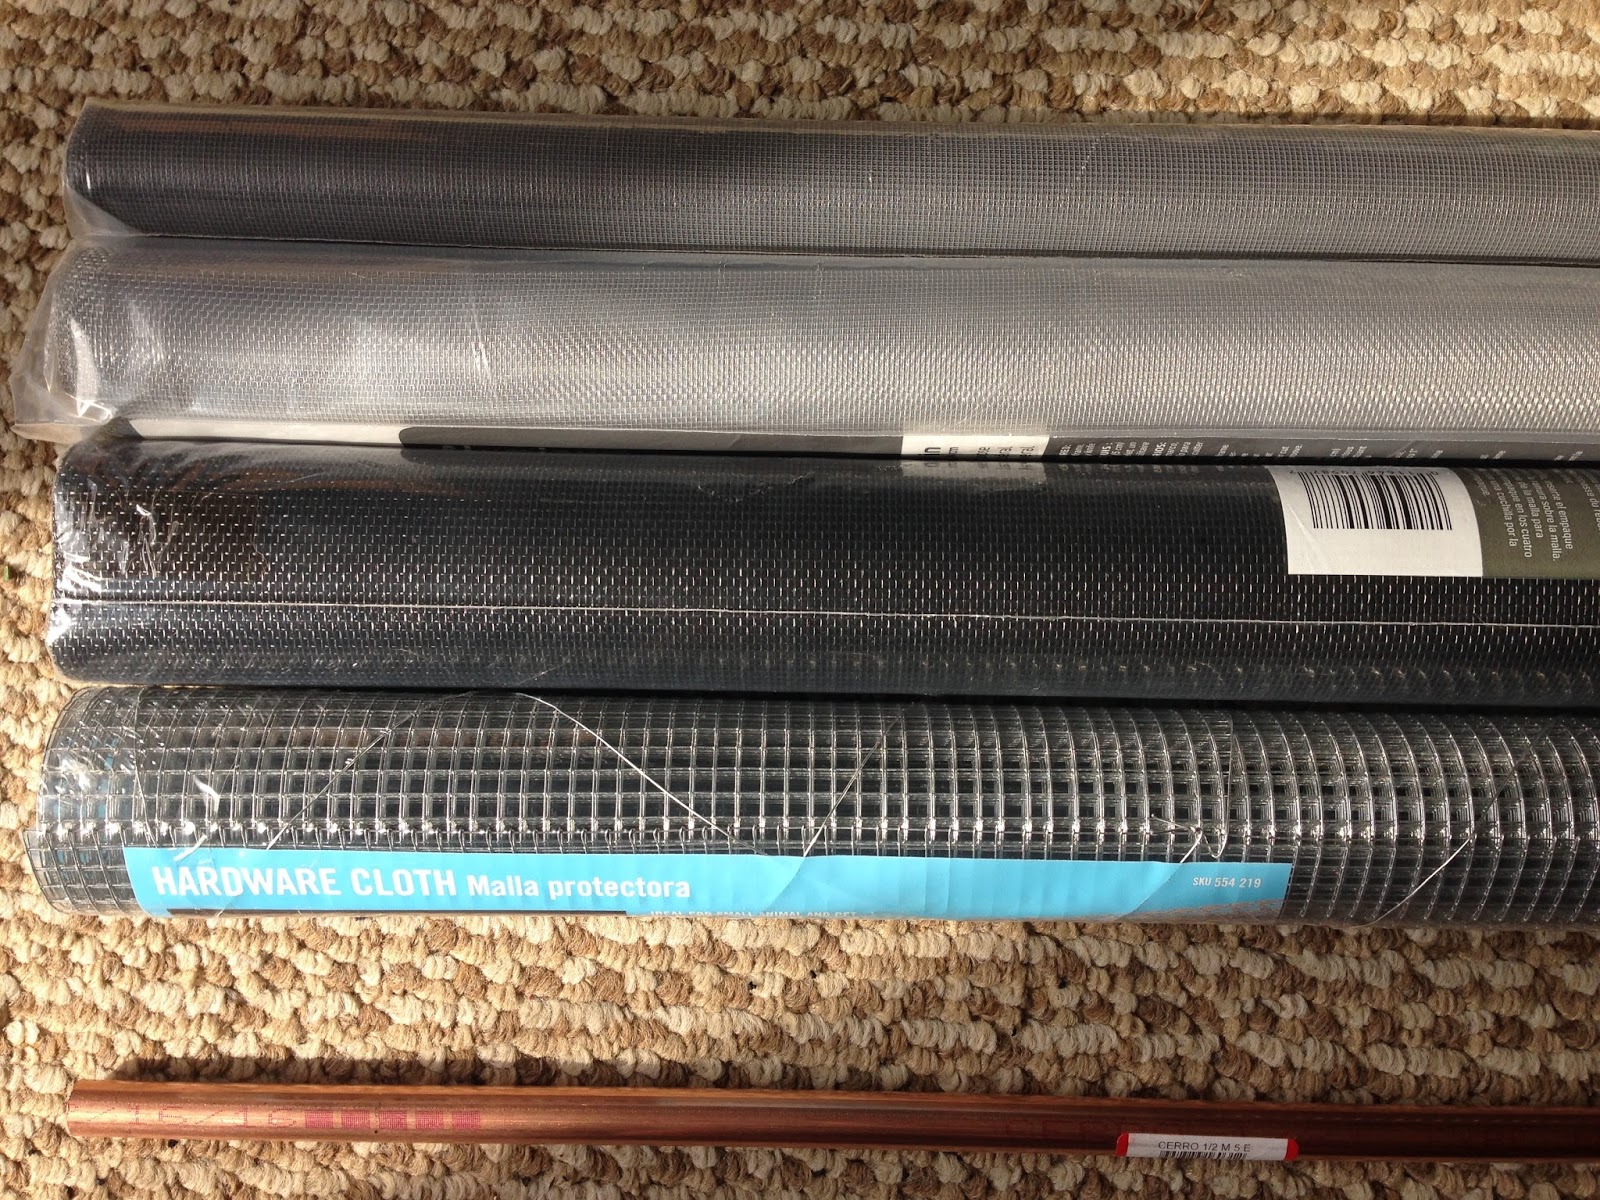
Because of the tools and materials we were able to borrow and the cost we were able to save from eliminating shipping, we decided to purchase and test four rolls of screen instead of three. In addition, a 5 ft. long copper pipe was purchased, which will be cut into two 2 ft. long pieces and will be used to make two heat pipes. This way the group can use one pipe for testing of the wick (to keep conditions uniform throughout all tests) and then attempt to replicate the findings using the second heat pipe.
While this decision partly arose from the fact that due to a sale the 5 ft. pipe cost just pennies more than the 2 ft. pipe, replicating our results will only serve to bolster the analysis and any conclusions we may reach.


In addition, we are still deciding whether or not to purchase an infrared temperature sensor. The one provided to us in the testing rig may not be compatible with the data collecting software with which we are familiar, and may not be as accurate as we need it to be to establish the correct relationship between the heat transfer variables. If we do eventually choose to purchase this sensor, it will cost $14.63 including shipping (five business days), which will add roughly $8 to the total cost of materials after factoring in the money regained from returning the pipe cutting tool.
Below is a rendered CAD design (to scale) of how the components are going to fit together inside of the heat pipe. The end not shown has water in the bottom and is closed with a soldered cap. The rolled wick will run the length of the pipe and no further; it is shown protruding from the pipe for clarity.

Now that the plan is in place and the materials are in hand, construction of the heat pipe is able to begin. The current goal is to have the entire heat pipe completed by the end of week 5 so that testing can begin starting week 6. Below is a rendered CAD design (to scale) of how the components are going to fit together inside of the heat pipe. The end not shown has water in the bottom and is closed with a soldered cap. The rolled wick will run the length of the pipe and no further; it is shown protruding from the pipe for clarity.

-- Alec, Tran, Matt, and Shjon
No comments:
Post a Comment